
The sides of our extractor hood are made of plastic and over the years it has become very crusty, yellow, and broken apart. It would fall off the extractor hood if one bumped it or from the vibrations from the fan spinning. In other words, it has been due for a replacement for a very long time. However, as the extractor hood is quite old, I was not able to find a new set of these sides to buy anywhere. We could of cause just buy a new Extractor Hood but this kitchen is to be replaced in a few years as part of a complete remodel of this part of the house. So, we do not want to spend any money on the kitchen if we do not have to. So I decided that since I have a 3D printer I would simply use 3D Modeling and print some new ones.
Old side topside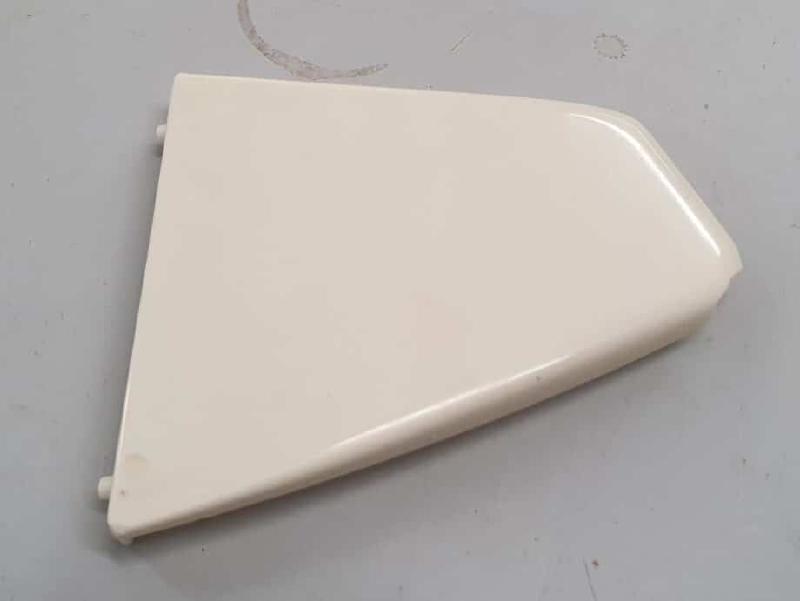
Old side underside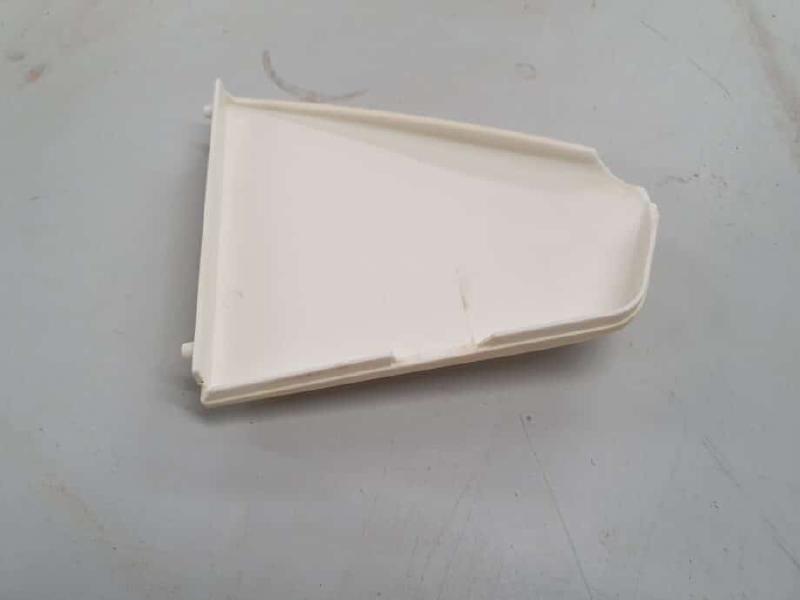
Well, this turned out to be easier said than done for me. While I have done some woodworking models in SketchUp, am quite new to parametric 3D modeling. But I wanted to model this the right way and use it as an opportunity to be better at parametric 3D modeling in my CAD software of choice FreeCAD. It was at times a bit frustrating. But, I had a lot of fun, and I learned so much. In the end, I did end up with two beautiful new sides for our old extractor hood.
Getting the overall shape#
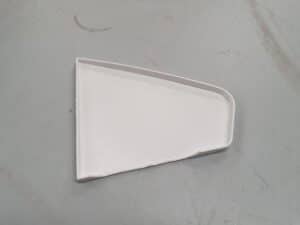
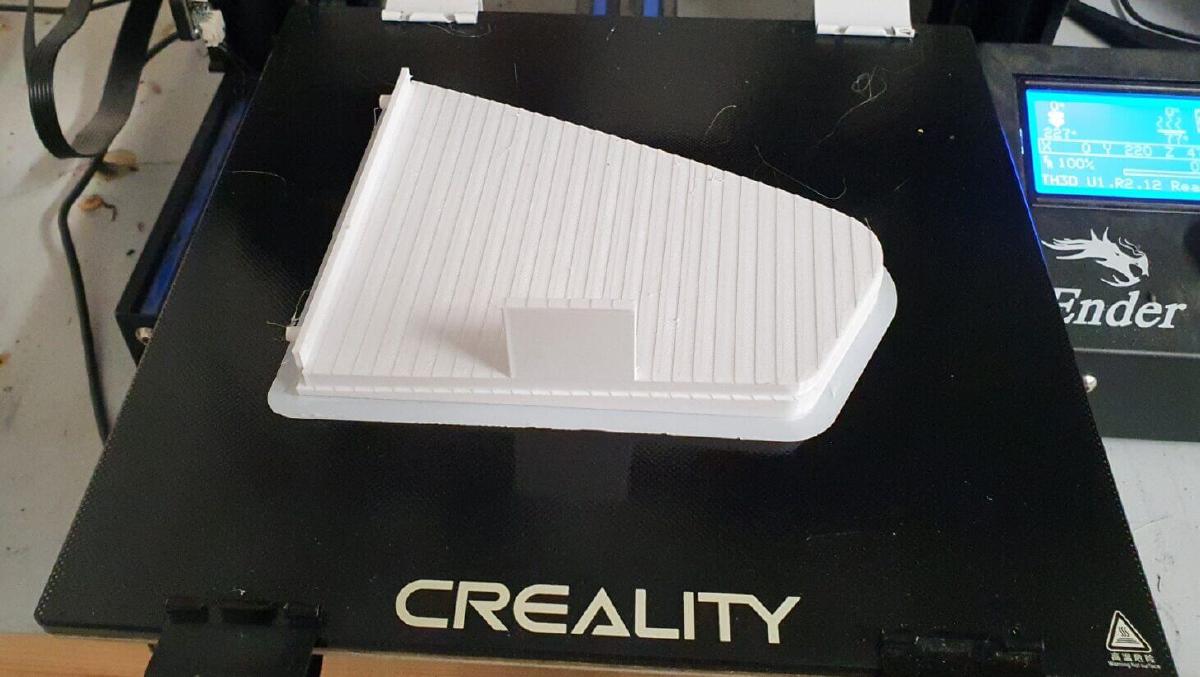
The first version was all about getting the shape and size as close as possible. This did require 3 simple prints for me to get it to look acceptable. I used a combination of a digital caliber and holding the old side op to the screen to see if the curves and angles were close enough. It is so cool to have done a lot of steps on top of the sketch then make a change to the sketch and see the 3D shape update accordingly. I would then print a relatively simple version and see how it fits in the real world.
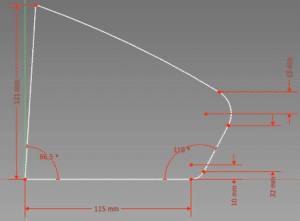
The Taper#

The sides have a taper. This was quite a challenge for me to get right. I tried multiple options mostly using booleans, but it always would break the model instantly or further into building the model. In the end, I ended up using the draft function to create the taper. The cool thing with the draft function is that it makes a taper from a plane and an angle. This made it easy to adjust the model later on
The solid thinkess#
The original sides are hollow inside. I initially modeled the new side the same way. However, that became difficult for me to do as I was adding features to the model. So I ended up just making them “Solid” and using the slicer with 20% infill when printing.
Screw mount#

The original sides were held onto the extractor hood using a small latch mechanism. I removed that and used the small hole left by the latch to screw the sides with a small screw. I added a platform to the model so that the screw would have something to screw into. It worked great!